Hello Encore!
Estimated reading time: 3 minutes
For Visual Studio veterans, development with Encore RPG is a snap. For others, it’s maybe two snaps. This demo walks through creating the most ubiquitous and useless of all applications, Hello World, using only Encore RPG for Visual Studio.
All new Encore users may benefit from this quick hands-on illustration of the potential of combining Encore, .NET SDK tools, and Visual Studio.
This demo assumes Encore RPG for Visual Studio has been installed. Please review [Installation and Setup]/manuals/getting-started/Installationandsetup.html) if necessary.
Create the Project
-
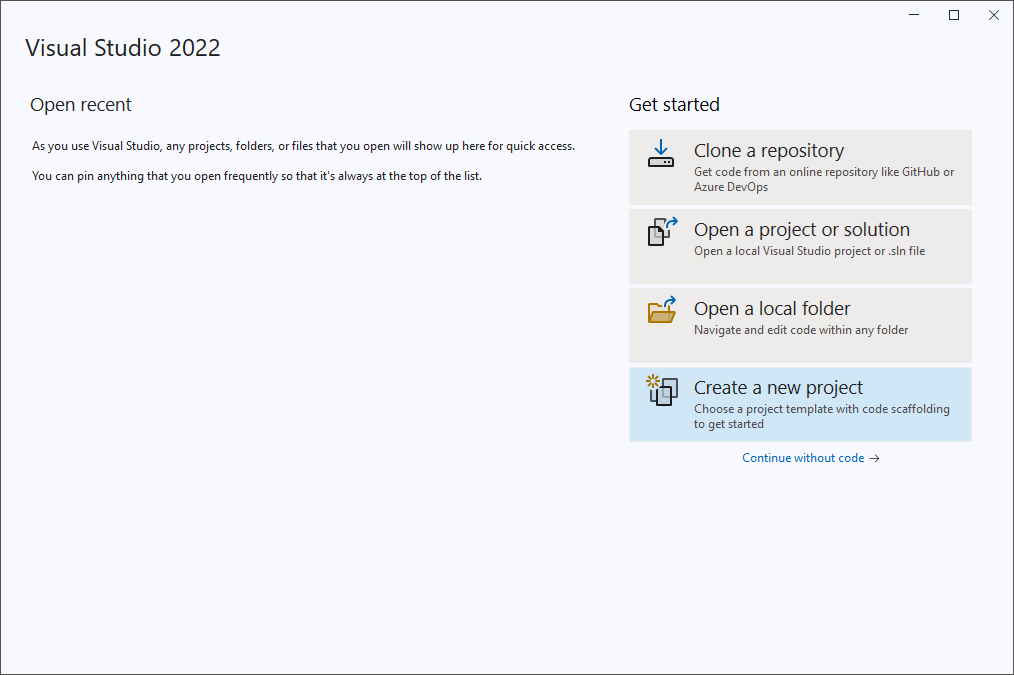
Start Visual Studio, then select Create a new project:
-
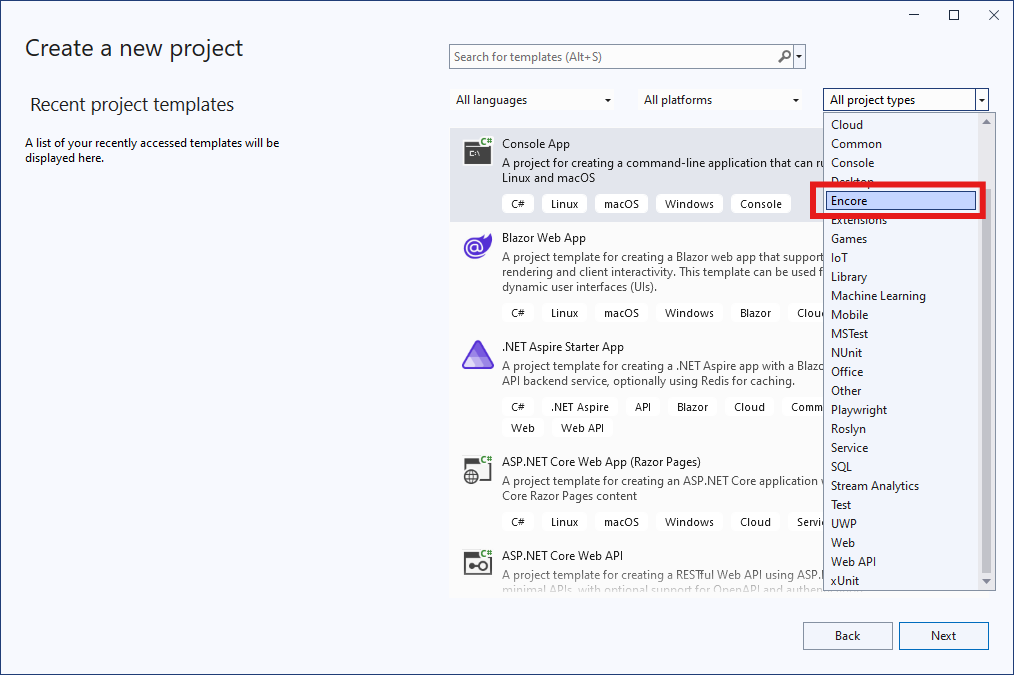
From the project types drop-down list, select Encore:
-
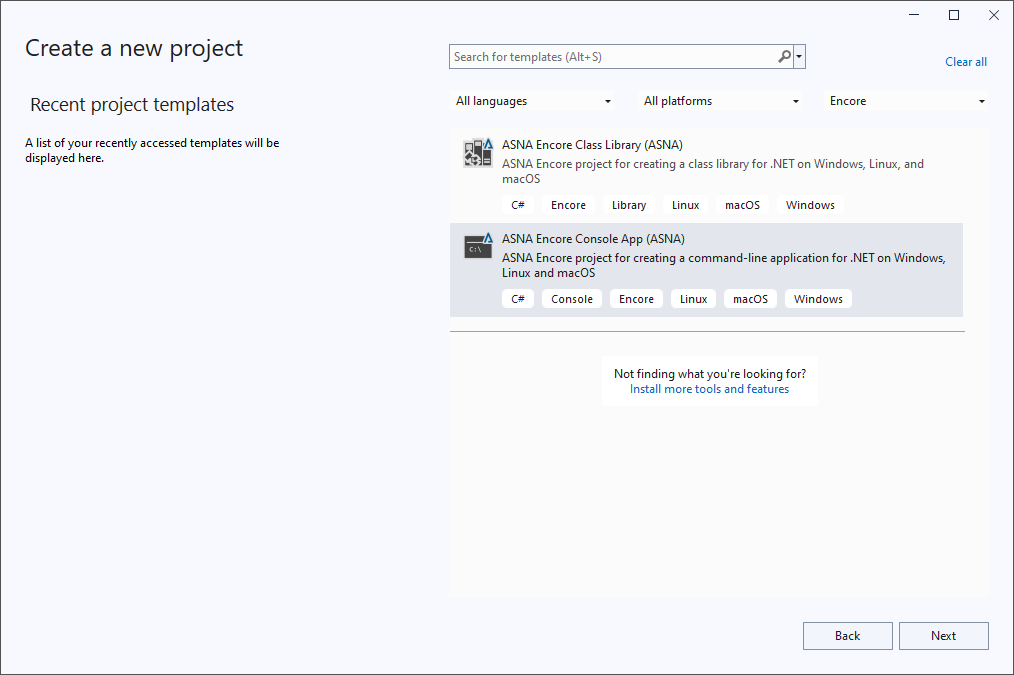
The available Encore project types are shown. In this example, we choose ASNA Encore Console App, as highlighted below. Then select Next:
-
On the next page, give the project a name and location. Below, we chose
HelloFromEncoreto be the project name, andC:\EncoreDemofor the location. Then, select Next: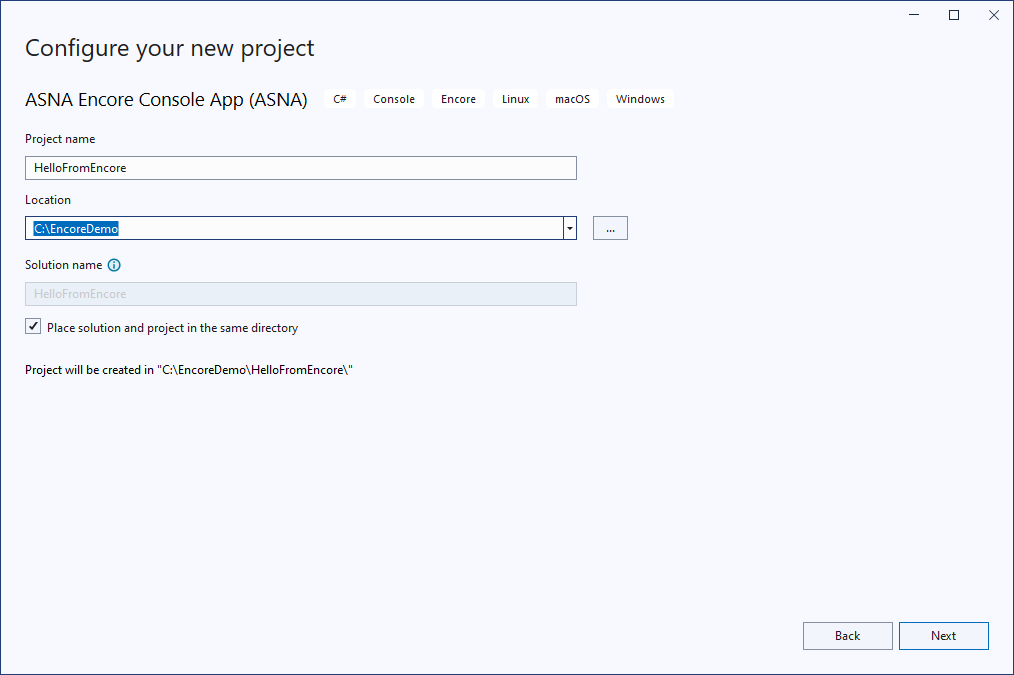
-
Finally, select the project’s “target framework”. Below, we chose .NET 8, which was the current “LTS” release for our Visual Studio version. You may select any version of .NET provided by your Visual Studio which is also supported by Encore SDK. Then, select Create to generate and open the project and solution:

Modify and Run the Project
-
After creating the project in a new Solution, Visual Studio opens the solution and displays the single Encore file the project contains (so far),
Program.er, as show below.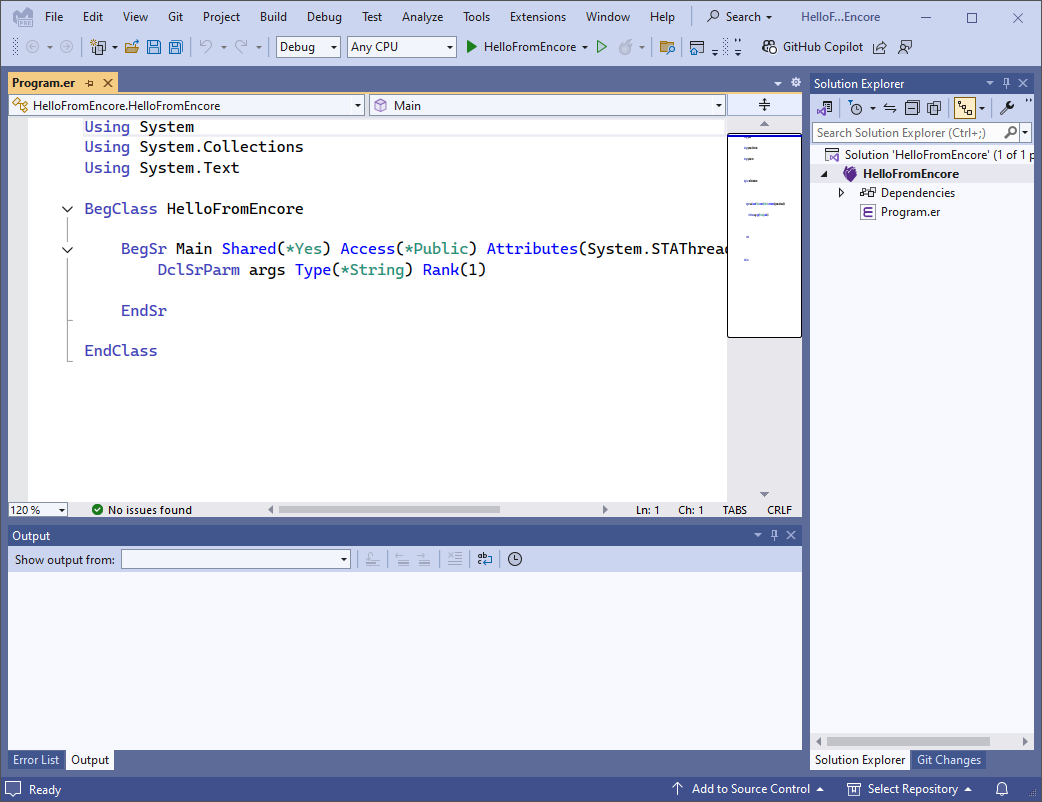
-
Next, edit
Program.eras shown below. We added an empty line below theDclSrParmdeclaration in theMain“entry point” subroutine, then a single line to call theSystem.Consoleclass’WriteLinemethod:Note that as you type in code, Encore-enabled IntelliSense suggests likely class names and language keywords for you to use. The feature settings can be modified in the Tools|Options menu by entering
Text Editor Encore Generalin the Search box, then selectingGeneralfrom the tree view.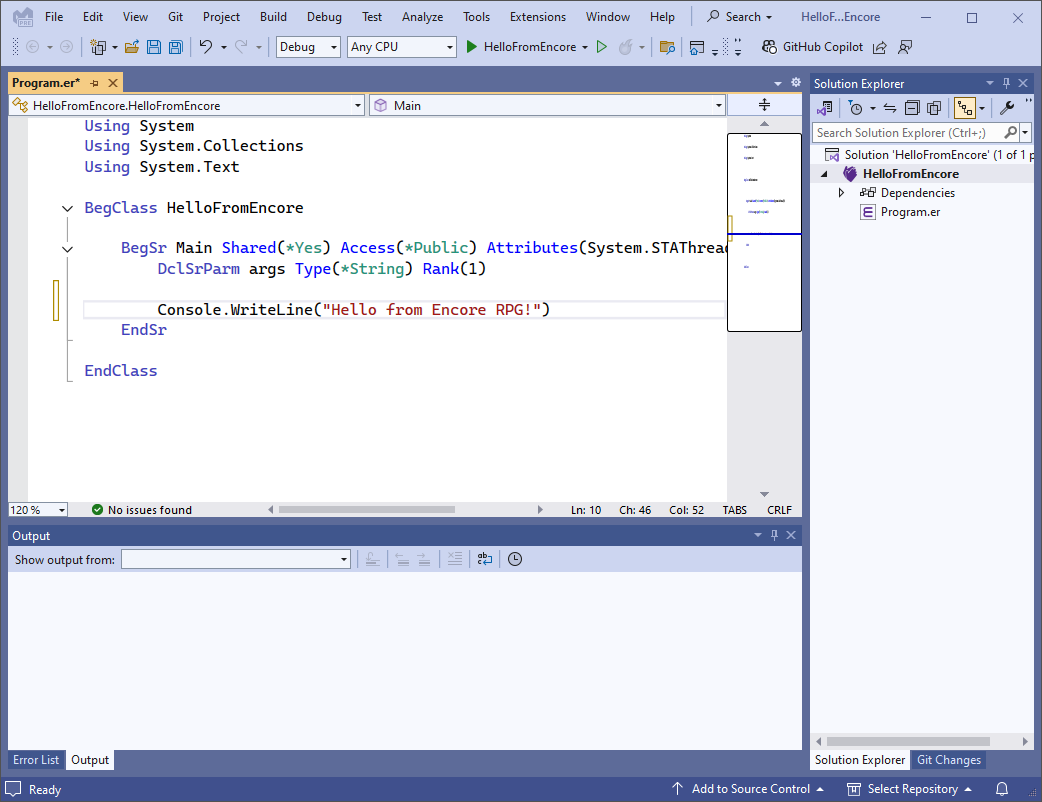
-
Now build the project and run the program. Since this is a Hello World example, we can use the infamous
F5key, a.k.a, Start Debugging on the Debug menu. This command executes several Visual Studio commands in sequence (Save All, Build Solution, Run, and Attach Debugger):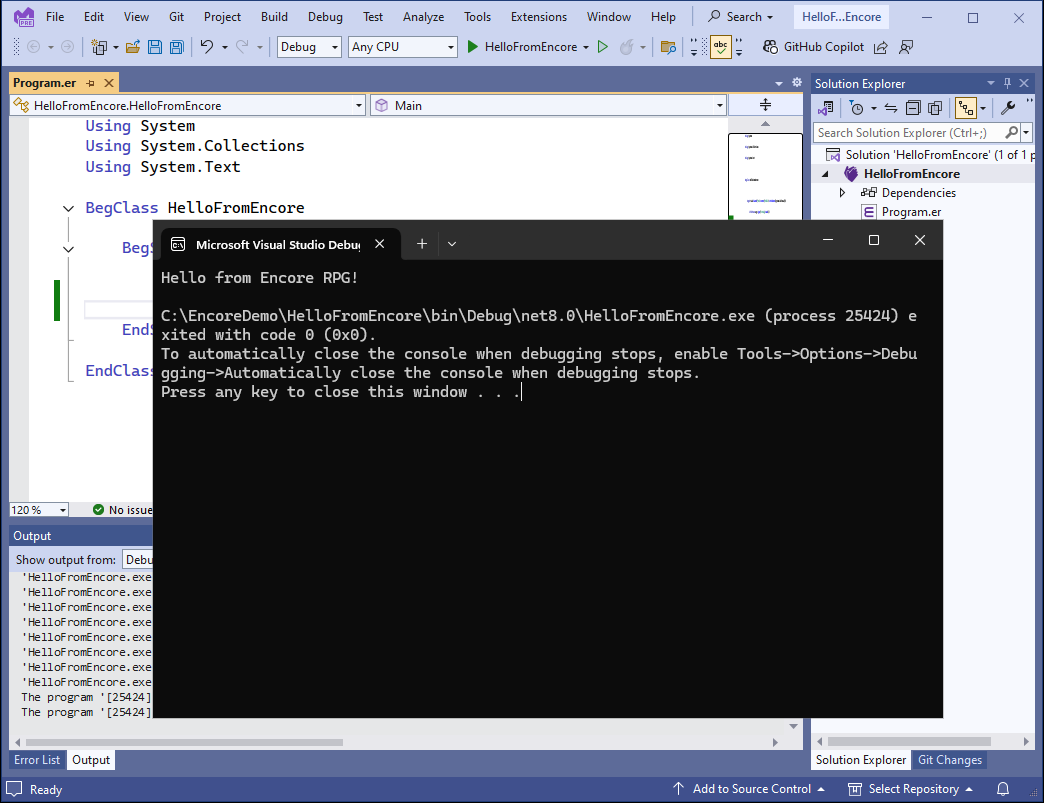
Additional Information
Find out about the new Language Concepts when using Encore RPG.
Describes the Encore RPG programming language reference.
Getting Started with Visual Studio
Learn to code in Visual Studio
IntelliSense® is a registered trademark of Microsoft Corp.